Introduction Every accounting system requires a way for putting in a journal entry. On
this form you can add entries, delete entries, change the date of the batch and print the register to commit the journal entries. An easy way to add entries is to set up recurring journal entries. The
journal entries are shown the order in which they were entered. Always entering the debits first can make reading several entries easier. You can even pick the Description from a list of common
descriptions. This list can be entered using the Journal Descriptions List which is found under the Other Maintenance menu.
Adding 
To add a journal entry, choose the account, the debit amount and, if desired, enter a description. Then do the same for the credit. You can also select a recurring entry
from the list box in the bottom right corner. When selected, the journal entries for the chosen recurring entry will come up.
When everything is balanced, you will be able to click the Register button. When you click the Register button, the
Journal Register, will appear.
Managing Recurring Journal Entries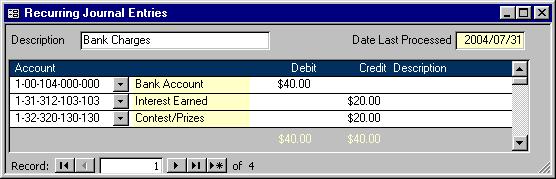
Clicking the Recurring button on the Journal Entry form will launch the Recurring Journal
Entries form shown above. Here you can manage or add to the recurring entries that are available through the pull down menu on the bottom right of the Journal Entry and
the Other/Missing Transactions screens. Using this form is quite similar to using the Journal Entry form.
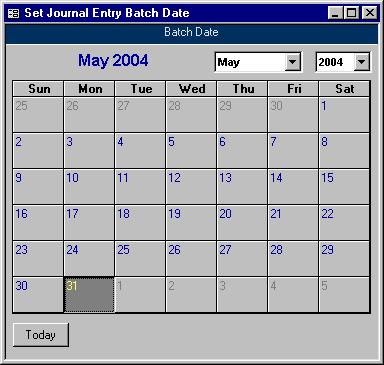 Changing Batch Date Changing Batch Date
Clicking on the Batch Date button will bring up the Set
Journal Entry Batch Date screen shown on the left. Choose the year, month and day of the desired batch date. If you want to reset the calendar to the current system date, click the Today
button at the bottom left corner. Closing the form will save your changes.
Deleting an Entry
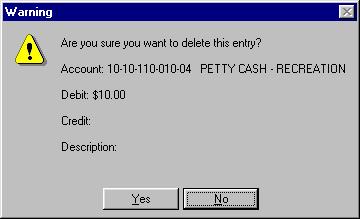 Clicking the Delete button will bring up the Warning screen
shown here. The description shown is the description entered on the Journal Entry form. If the entry shown is not the one you want to delete click the No button. You will just be sent back
to the Journal Entry form; however, clicking Yes will delete your record before sending you back. Clicking the Delete button will bring up the Warning screen
shown here. The description shown is the description entered on the Journal Entry form. If the entry shown is not the one you want to delete click the No button. You will just be sent back
to the Journal Entry form; however, clicking Yes will delete your record before sending you back.
|